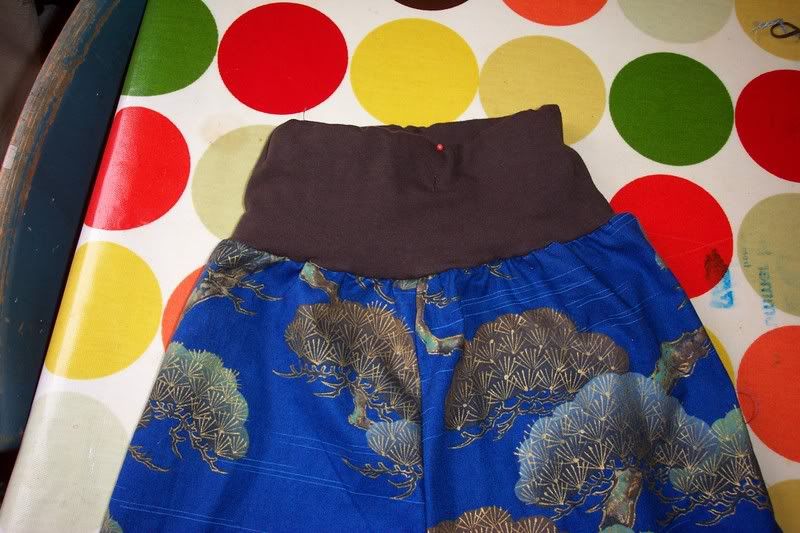
I was asked if I might put a little tute together for a pair of these trousers.
This pair trousers are also part of my D.I.Y - O.T Sew-along for March at thebabywearer.com
These trousers are great for worn toddlers/babies too , as the style keeps their little legs warm!
I used an old cotton charity shop kimono,I found for £1.50 and an old cotton/lycra long sleeved t shirt of mine.
Solomon adores all things bird at the moment ,the kimono has flying cranes on it,so I'm hoping he will love the trousers too!!!
You will need cotton fabric , quilters weight type stuff is fine , some very stretchy fabric , like from a t shirt or ribbing, thread to match the main fabric and the stretchy stuff,a regular needle , a ball point needle and half a metre of really soft 5cm wide elastic.
Start off with a pair of trousers/pants which fit your little sweetie pie ,you will use this as a basis for your pattern.
Basically from your pants take the measurement and curve from the crotch to waist then take some off(around 2cm ),the cotton part of the pants goes from crotch to hip.
The measure the inside leg,do not deduct anything here we want the pants to be super long,the cuff keeps them away from the floor and the bonus for worn toddlers is that as they are seated in a carrier the legs don't have any gaps,we tried this today he was hours in the M.T and they worked fabby!!!!
Then draft a pattern!
The back seam should be significantly higher,mine,by the way is drawn onto greaseproof paper
Copy the shape shown and double check the inside leg and crotch to hip on your own kiddo,pattern drafting is hard to explain I just do it and it tends to work!!
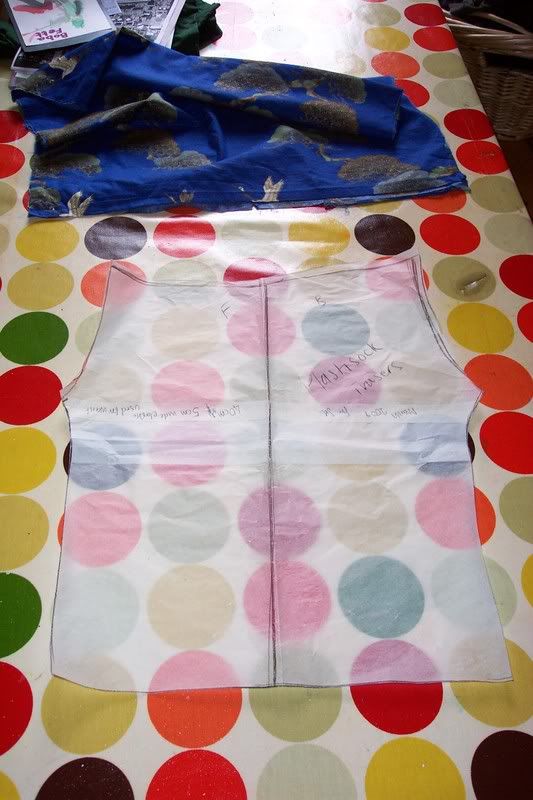
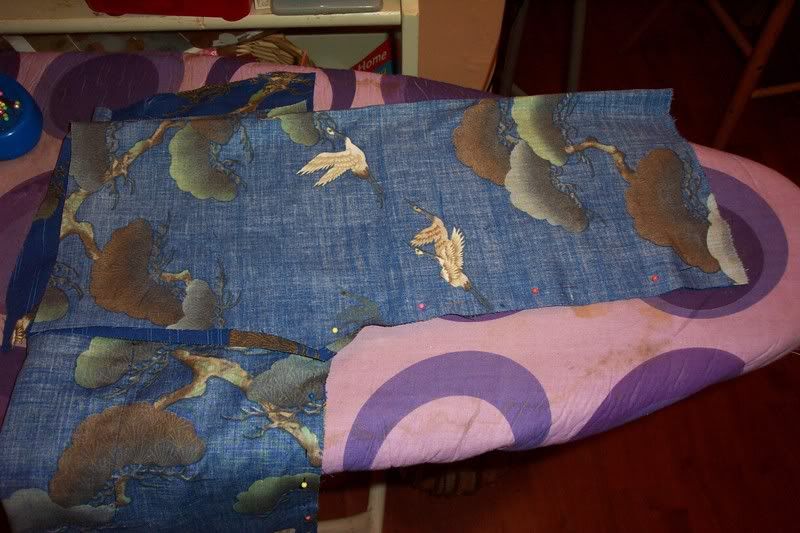
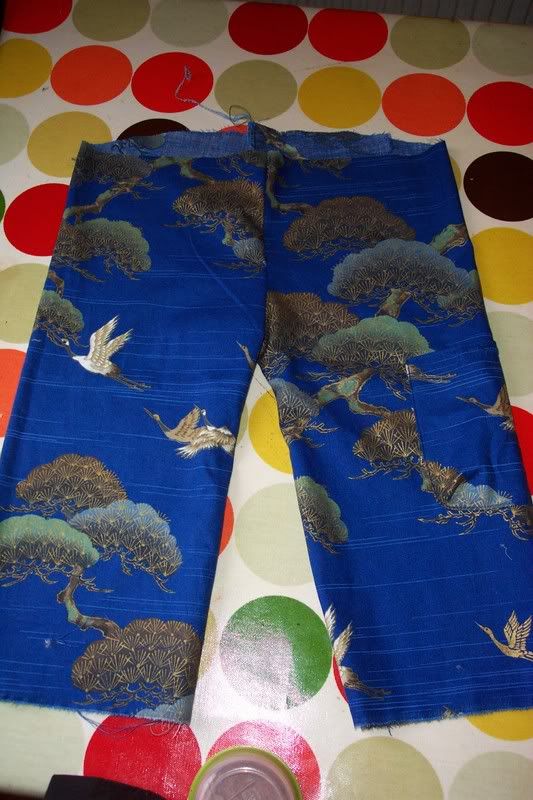
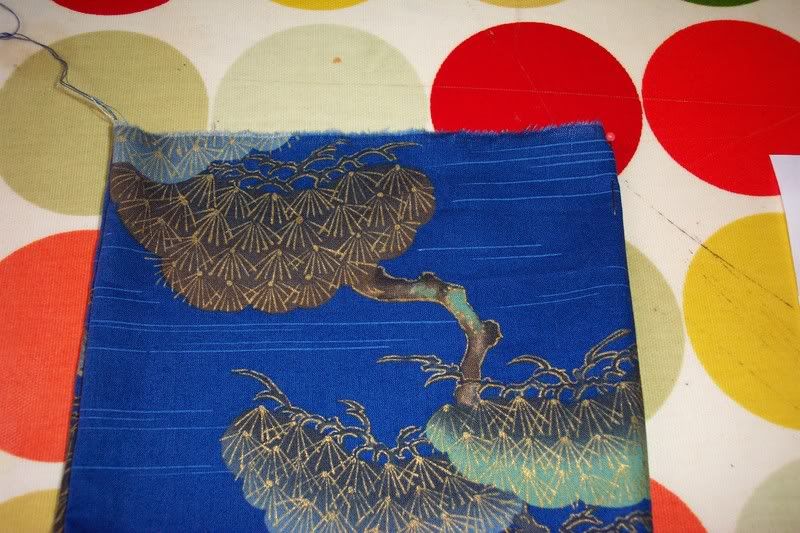
Now with your fabric folded right sides together pin on your pattern and cut it out!
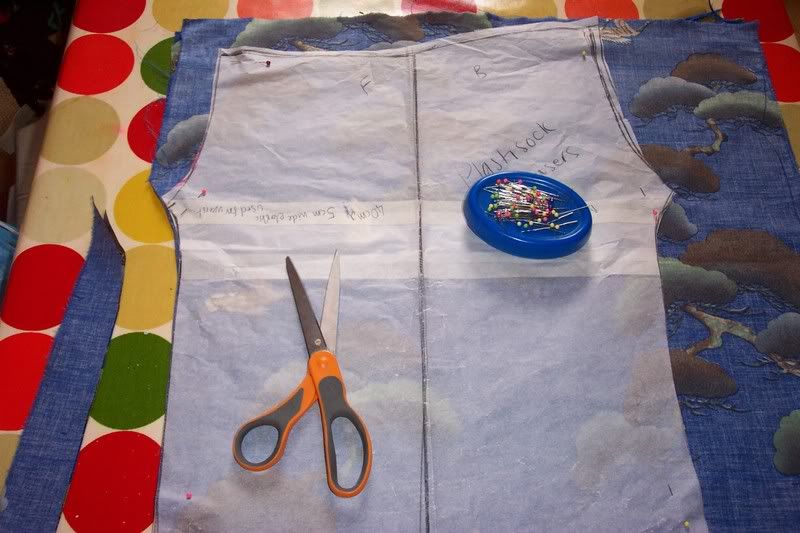
As this style has no side seam it is nice to add a pocket at this stage,for fun,not function,22 month olds tend not to carry car keys!
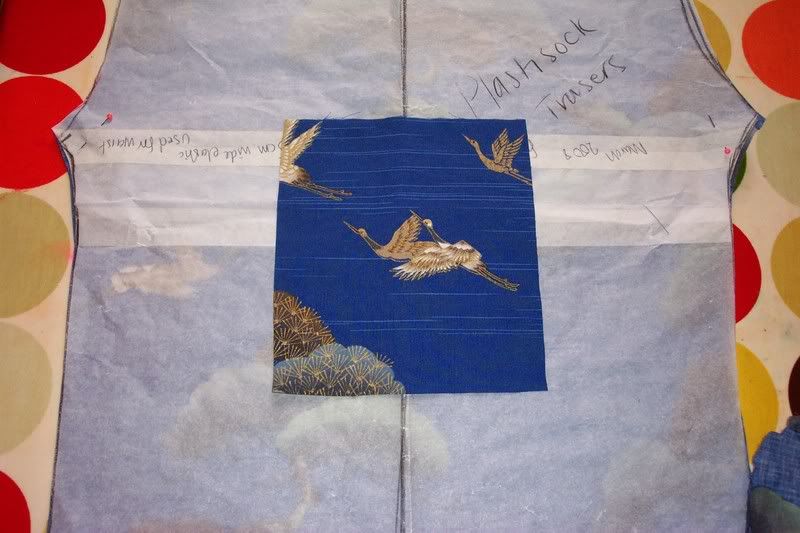
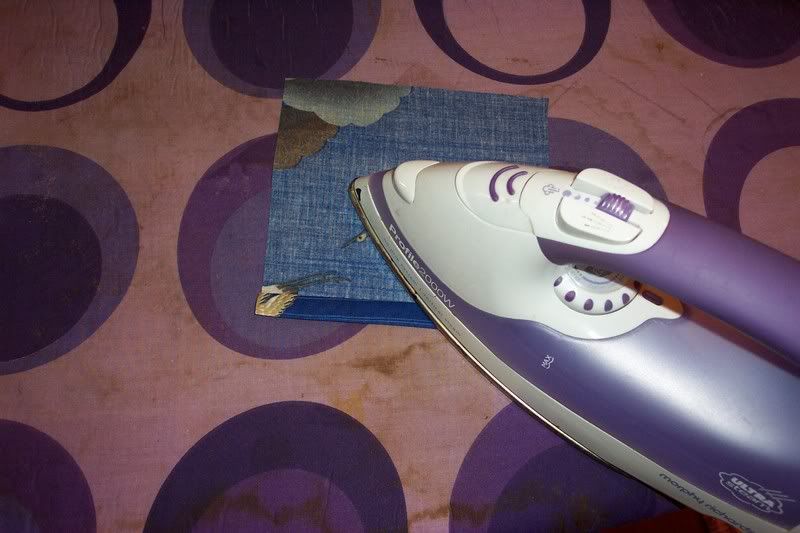
Press down the top of the pocket,then once again then
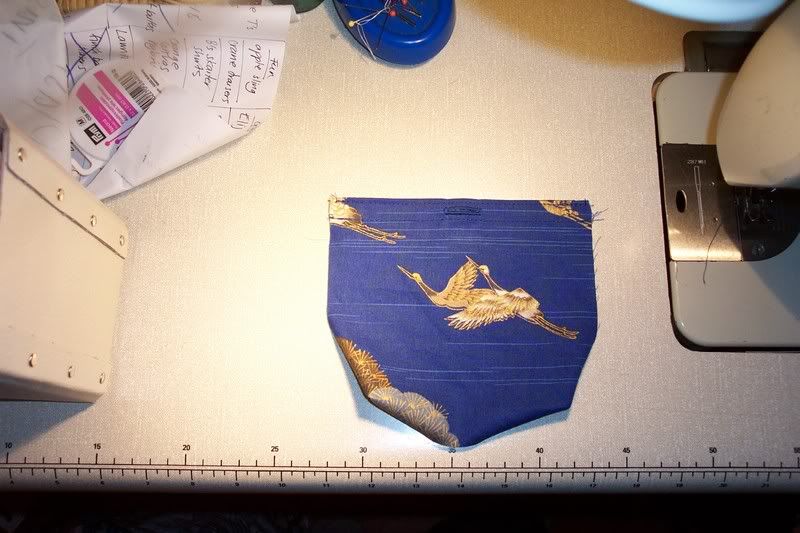
Then sew the top of the pocketand I added a button hole and darts in the pocket,but you could do any type of pocket at all.
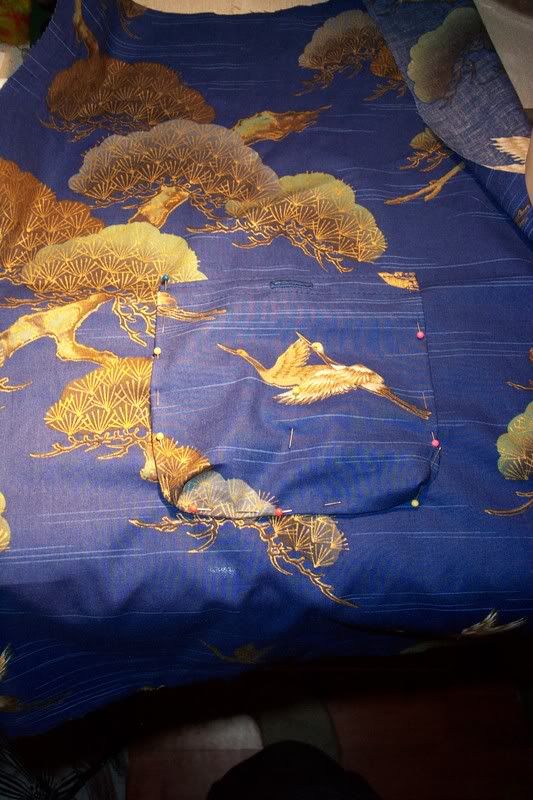
Find the position for the pocket along the imaginary outer seam of the trousers and pin into place ready to sew
Sew that pocket on!
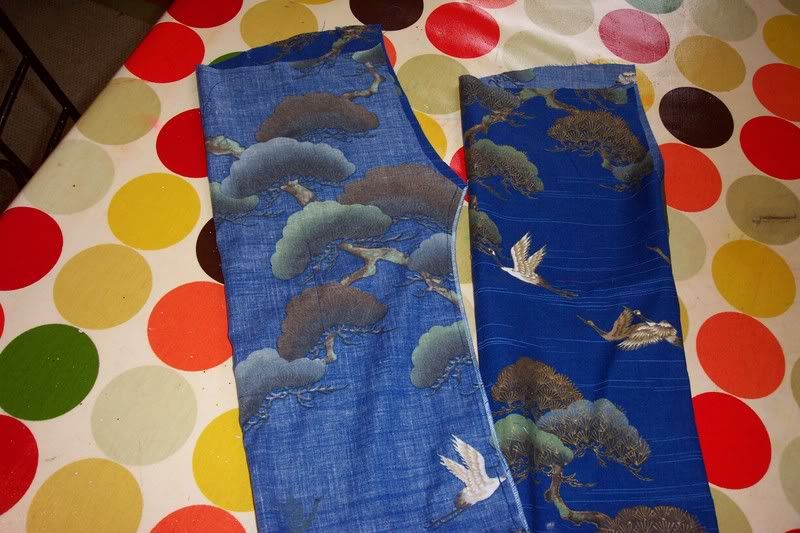
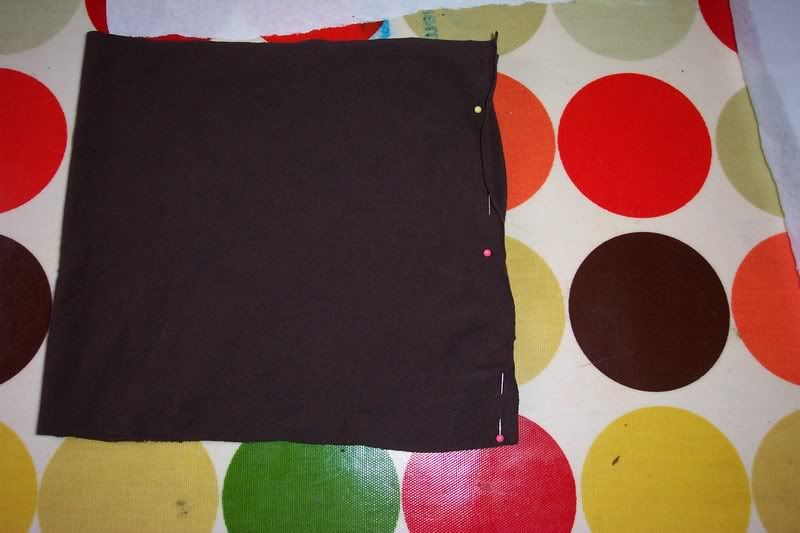
Now folding the pants legs right sides togther and pinning the inside leg seams togther ,thus creating one front and one back leg X 2
Sew up that seam on your machine ! Twice i.e on each pattern piece!
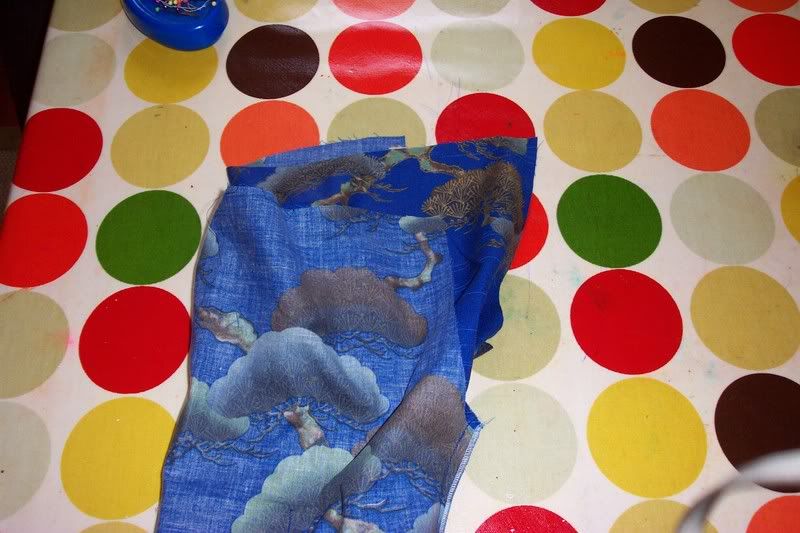
Turn one of the legs right side out and leave one wrongside out
The plce the right side facing leg,into the wrong side facing leg matching crotch seams ,this means they have right sides together
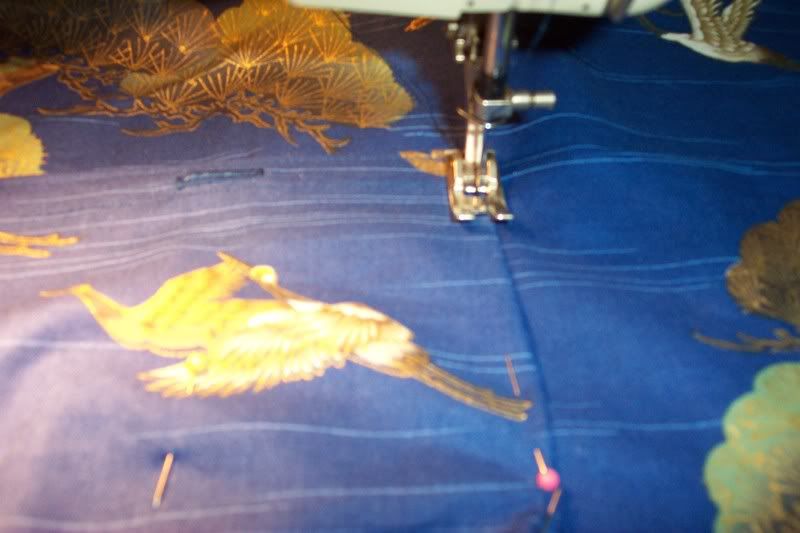
Pin and sew along this long crotch seam
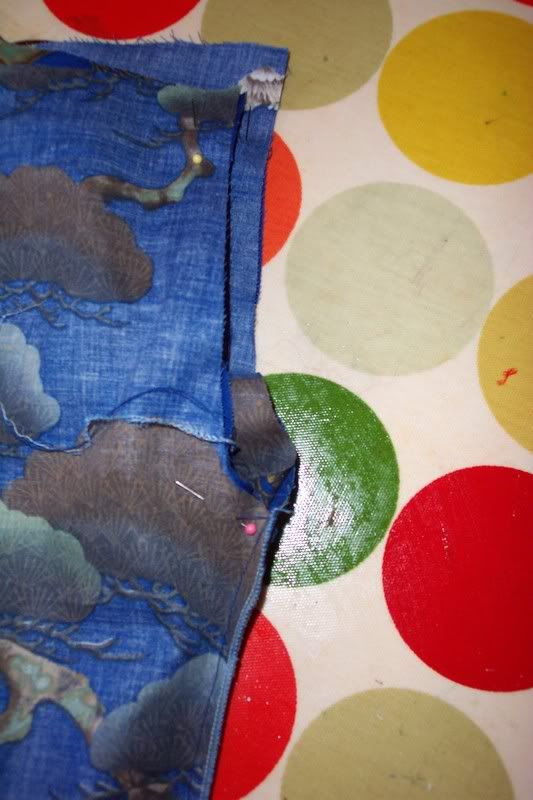
The see where I marked with the pins?
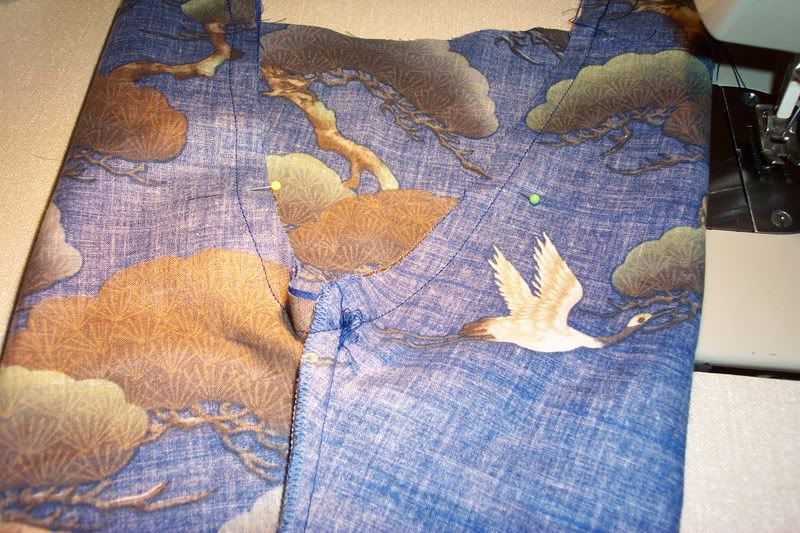
Sew another line of stitching REALLy close tio the other,this just acts as a re enforcement on kids pants a good thing!
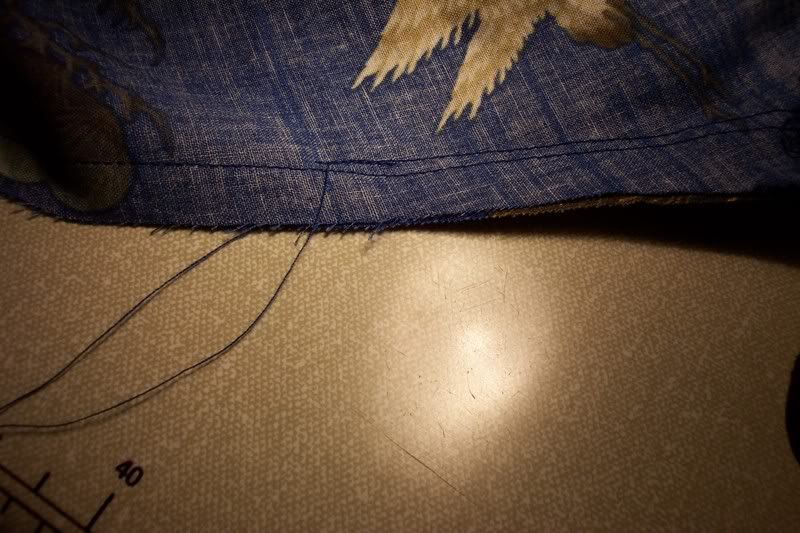
Turn right sides out and hey this bit is done!
Switch needles now,to your ball point!
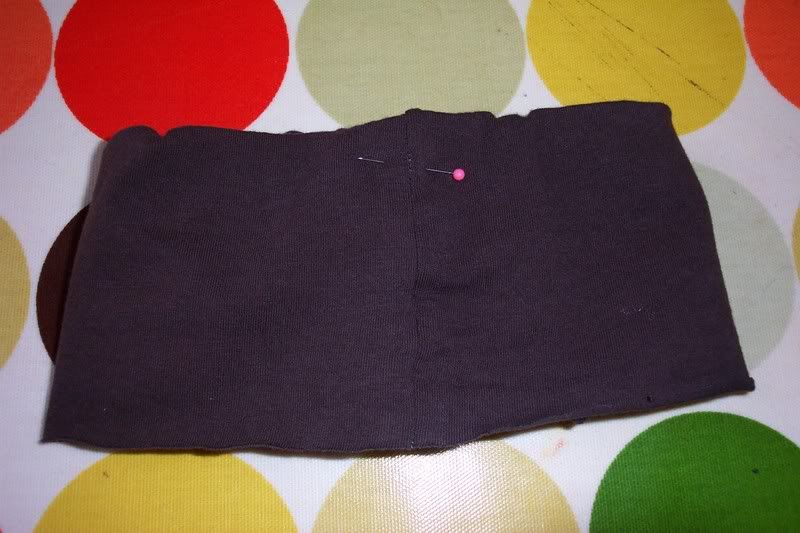
Now grab your jersey
These are my dimensions,i think the height will transfer well ,you may need to tweak the width,this will be the waistband
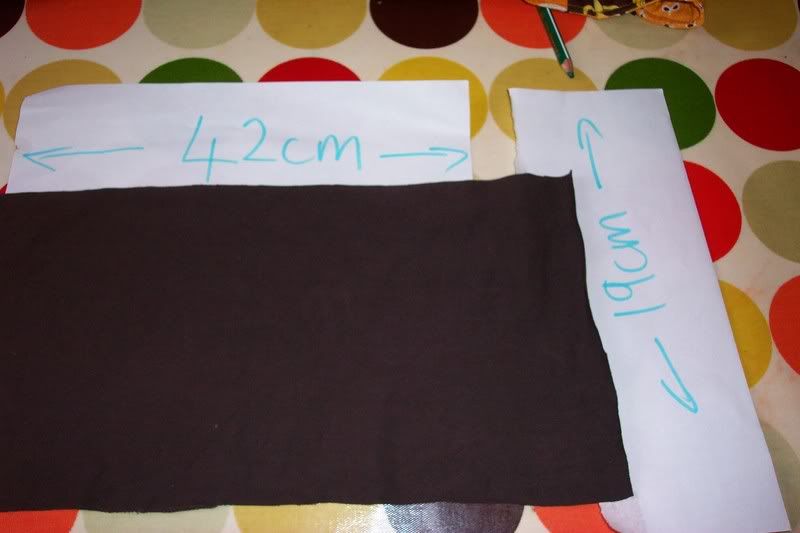
The stretch needs to be horizontal,yes?
Then we need to bring the two short edges together and pin
Then sew or serge if you are lucky enough to have one
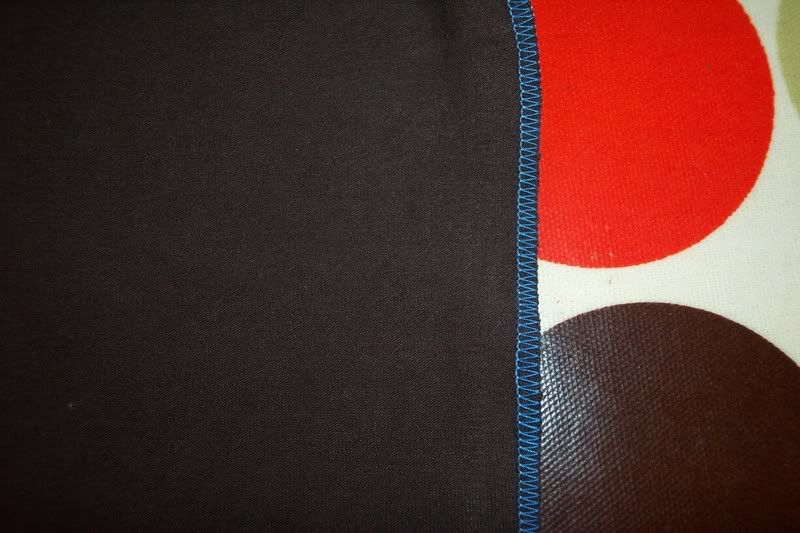
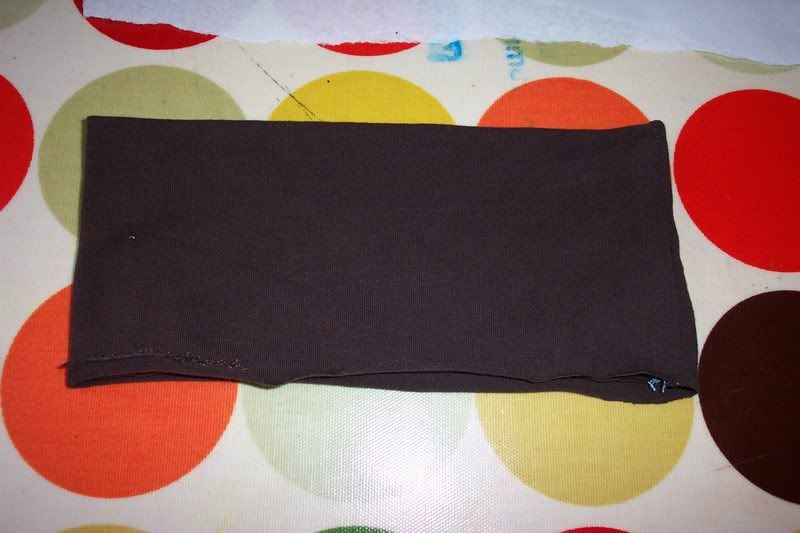
The fold with the wrong sides inwards over so you have created a wee cuff /waistband with the seam you just made running vertically.
Now measure and cut your elastic

Then join your elastic with a machine zig zag ,go back and forth a bit,to make a really great strong join
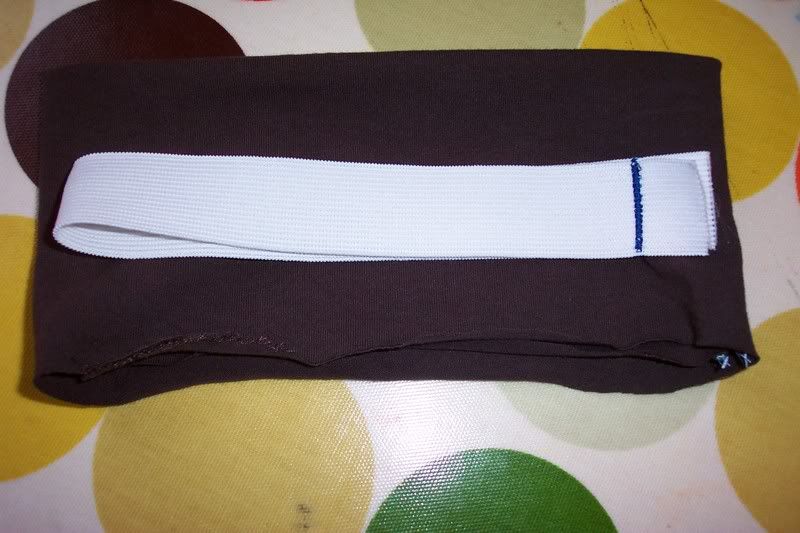
The place the loop of elastic inside the waistband you just made and pin in place at the back seams,lining them up abnd then the middle front too
Now pin the back seam of the waistband to the back seam of the trousers right sides together
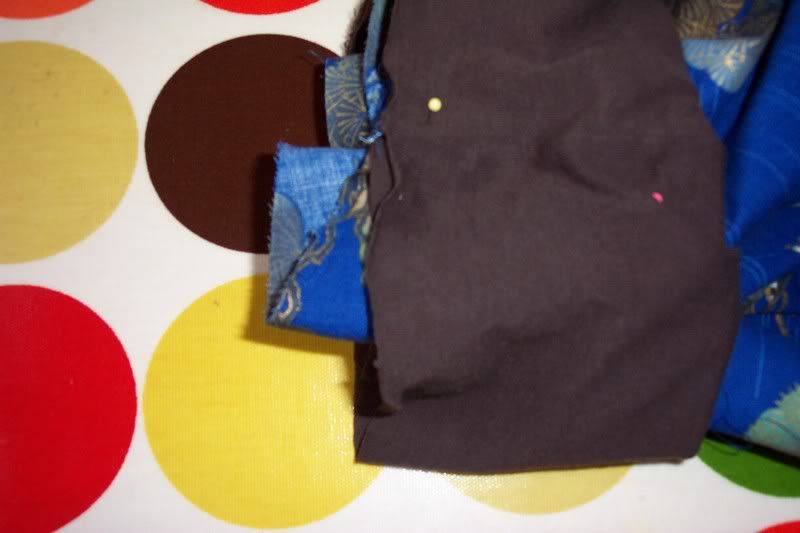
This is the bit which feels like it won't work,it will!
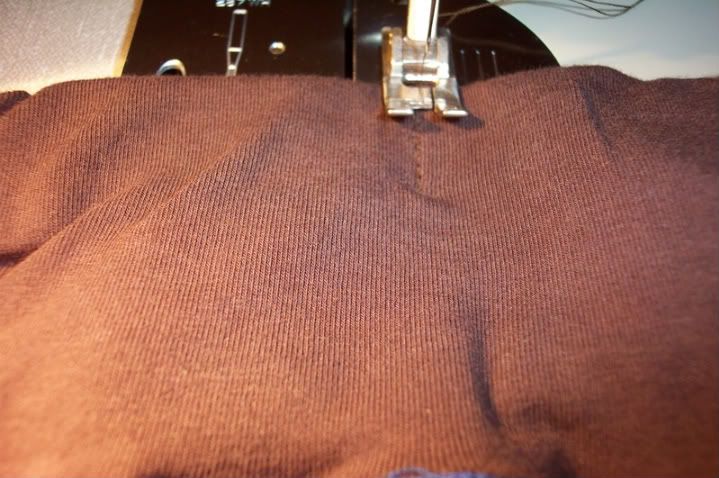
Select a very small zig zag I set mine to 1 1/2 and place the back seam under the needle,stitch a few stitches and back tack leaving the needle in the work start to pull like crazy on the stretch fabric and keep the three layers lined up at the seam allowance and stitch,repeating the needle sinking and stretching as you go
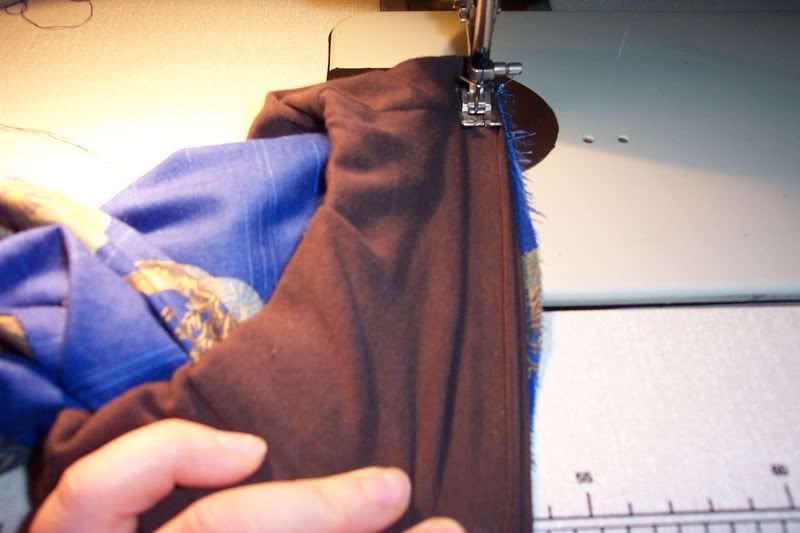
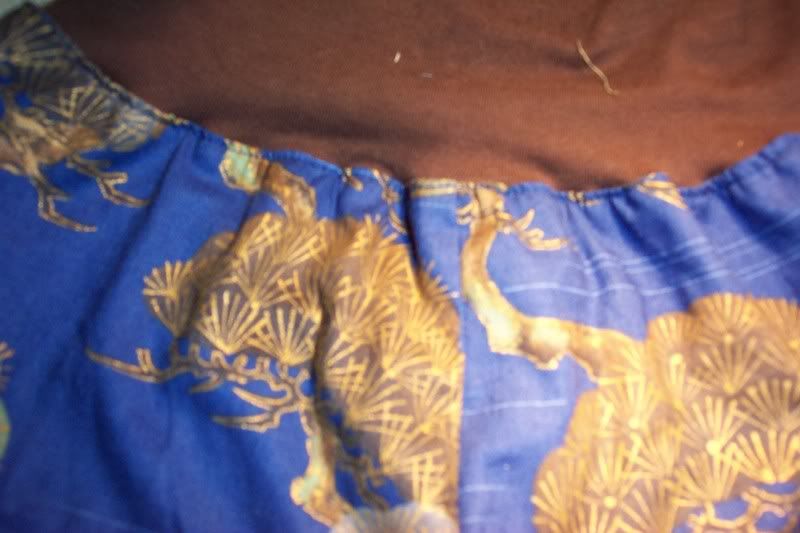
As you sew around the back will begin to look like this( a light gather)
Then here we go
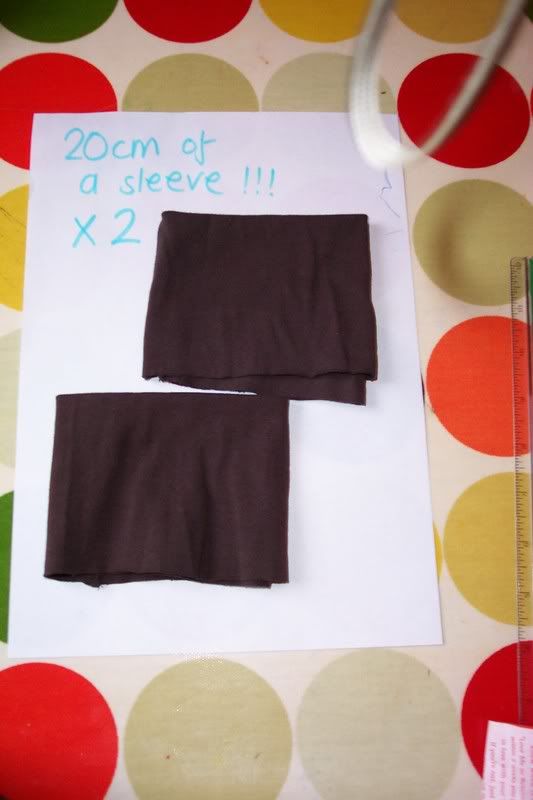
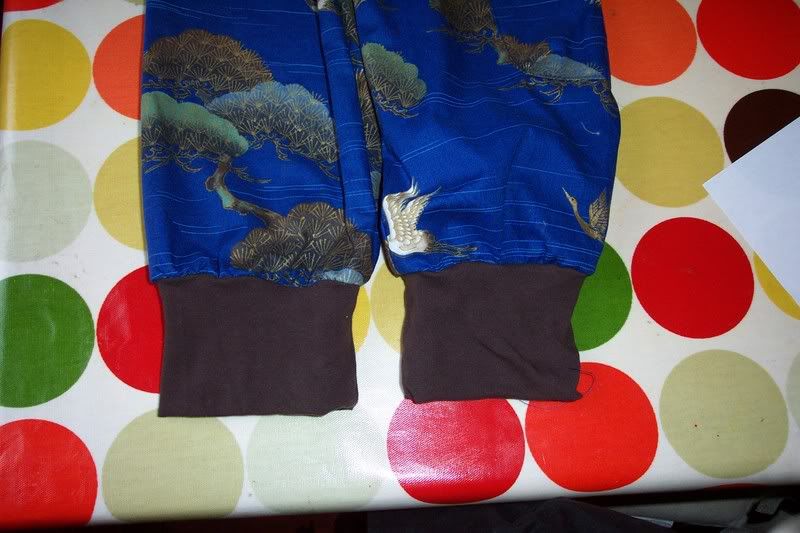
Now for the leg cuffs,I cheated totally and used 20cm's of the bottom of the long sleeves of the old t-shirt,I folded them in half like I did in the waitband process
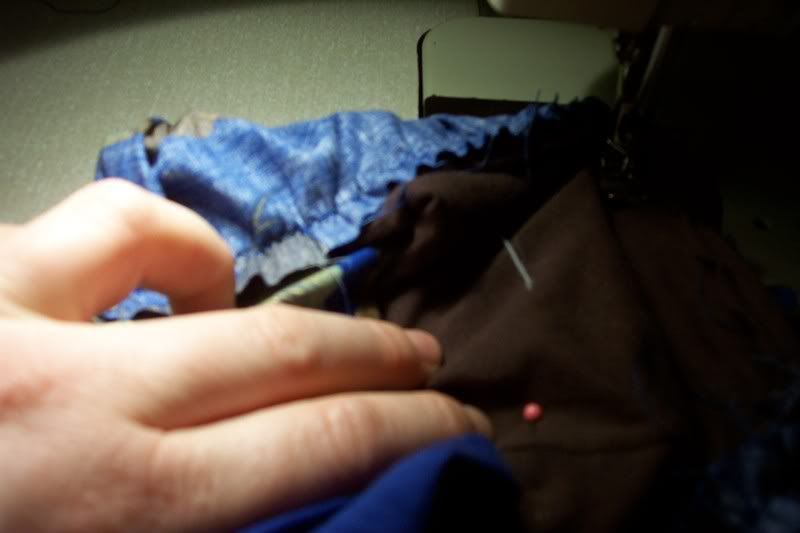
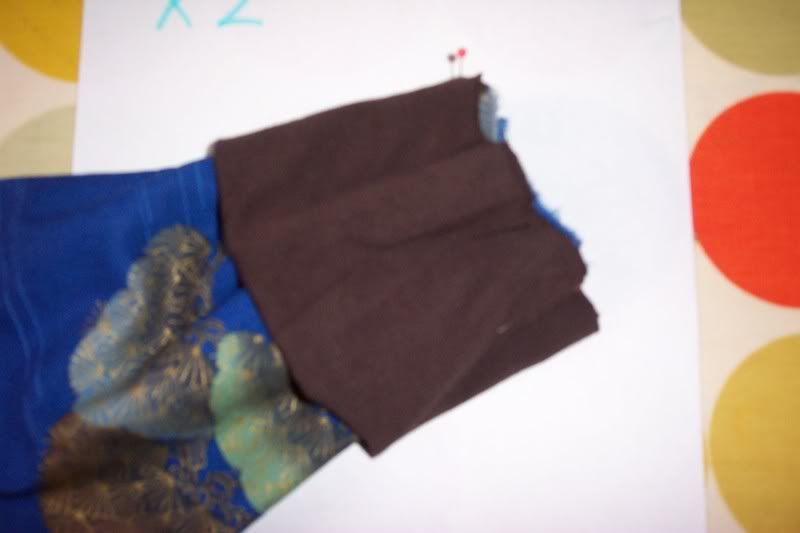
Lay the bottom of the pants leg flat and find the side seam,mark with a pin
The as you did the waistband pin the leg cuffs right side together with the seams matching and the imaginary half weay we marked with a pin matching too.
This is fiddlier than the waist bacnd but just as easy!
Sew with the same technique and stitch as the waistband and here we have it
The now I ma back to the waistband, making some finishing touches,I like to top stitch the cotton to the waistband,making a minute little overlap, this is not totally required,I just love the finished off look it gives and it stops the wavyness of the meeting of stretch and cotton too
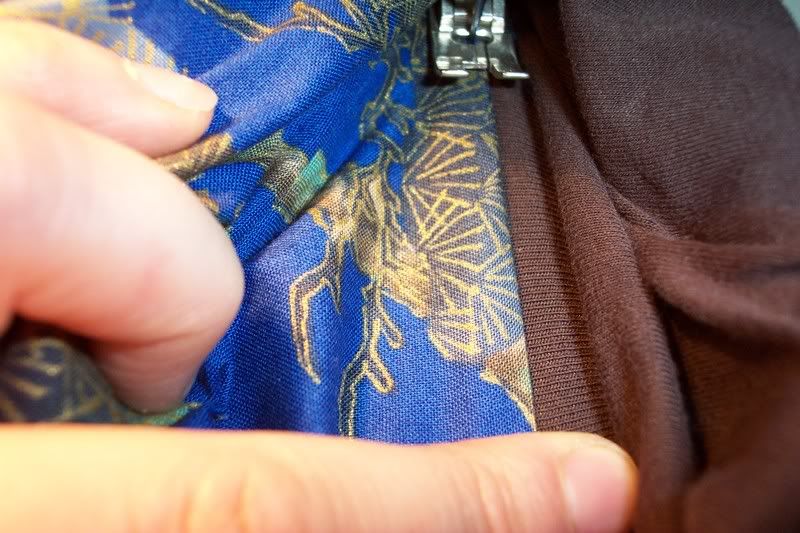
See what I mean? ;)
Now with a thread which matches your waistban stitch with the same teeny zig zag as we used before a vertical few stitches just to hold the elastic in place at each side
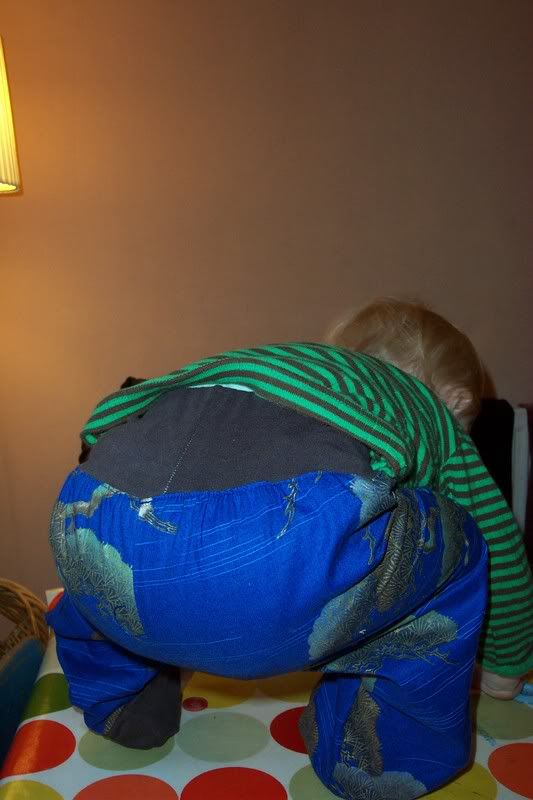
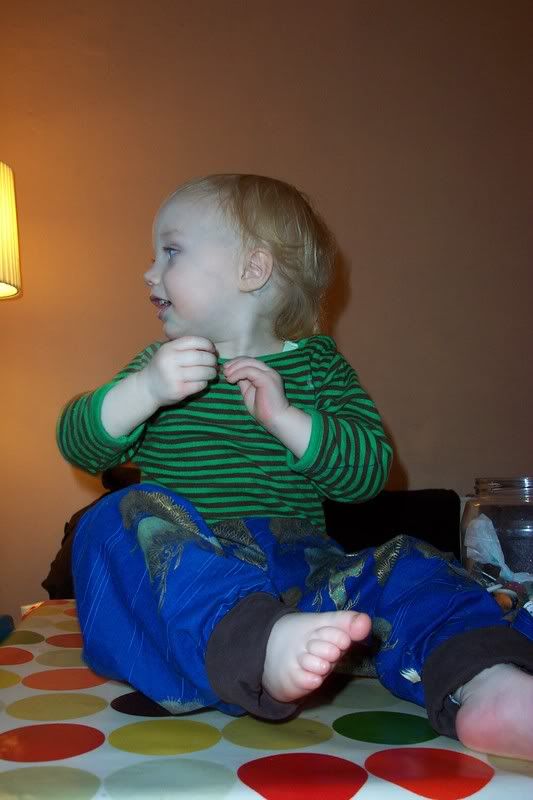
The we are done,I sewed on a button and found a really cute boy to model them!
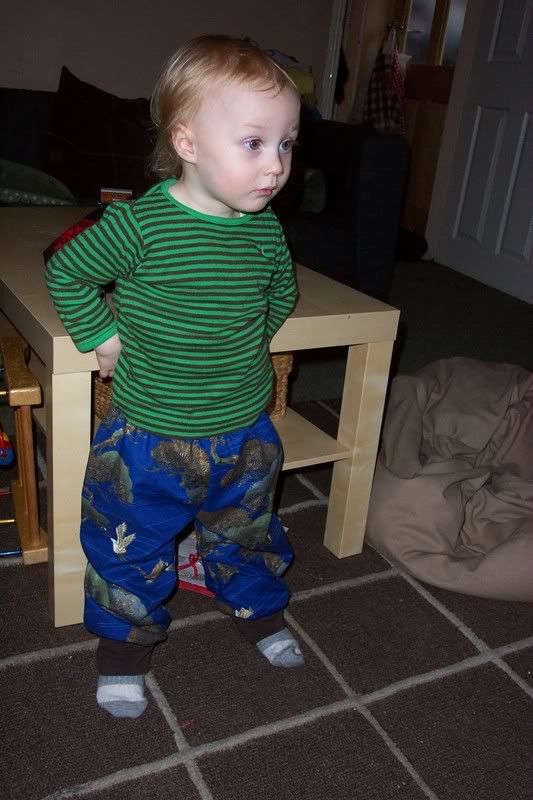
He told me he would only pose for pictures,if I let him sit on the table and play with the button jar!
The back view,just in case you needed it!!!!!